How to Migrate Your Website Using All-In-One WP Migration
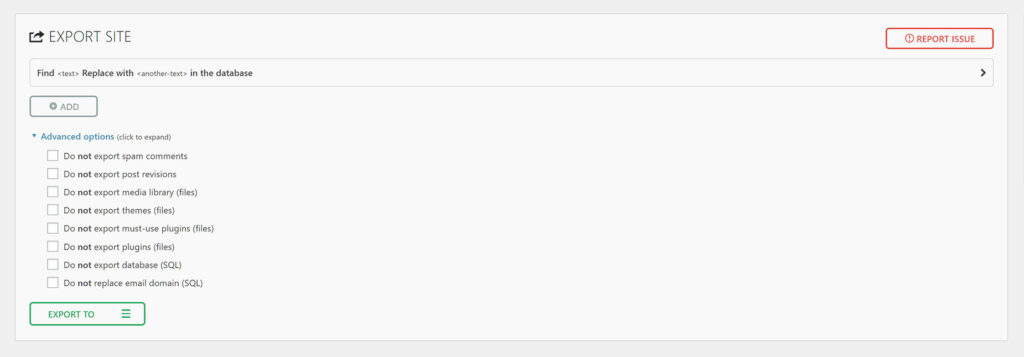
Export The Site
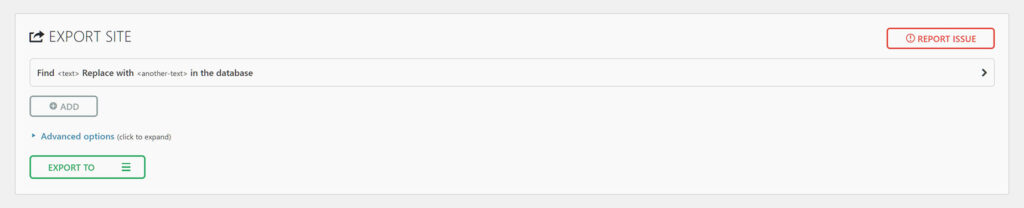
There are options available for exclusion, and some are mainly for troubleshooting. Most users won’t need or want to exclude any content from their site, but it’s worth checking to see if any of these options are relevant for your site.


Import The Site
Now that you have your Export file ready, it’s time to finish moving your website. Whether you’re transferring it from a local production site to a new server or switching hosts, the process is the same.
To begin importing your website, you’ll need a fresh installation of WordPress at your new location. If it’s a completely new website, set up your hosting, domain name, and install WordPress on your new account. If you’re moving an existing website to a new host and want to minimize downtime, there are additional steps.
Depending on your hosting, one method to avoid downtime involves temporarily mapping the new account’s IP address to your domain name using your computer’s hosts file. This allows you to complete the site import on the new account before changing nameservers.
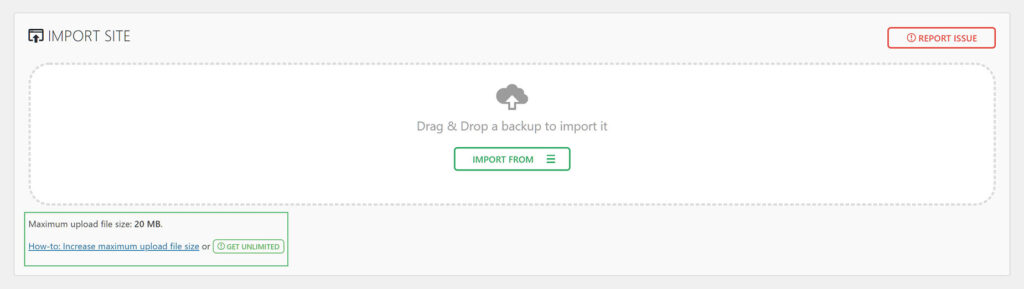
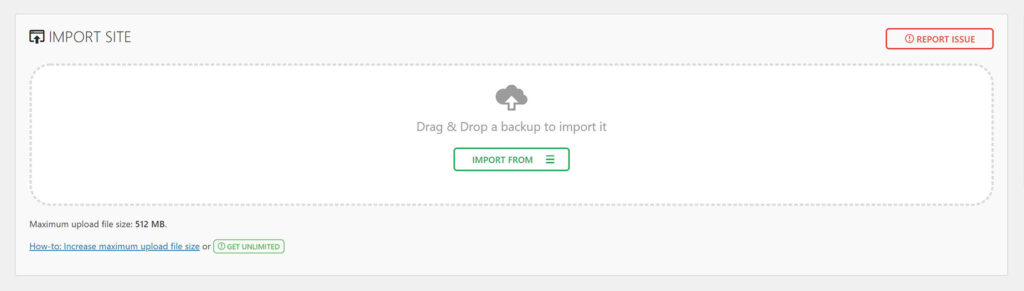
Once WordPress is set up at your new location, reinstall the All-In-One WP Migration plugin. Then, go to the Import section. The import process is as straightforward as the “Export” process, but be aware that your Maximum Upload File Size might be limited based on your hosting. You can find instructions on the Servmask website to adjust this setting if needed.
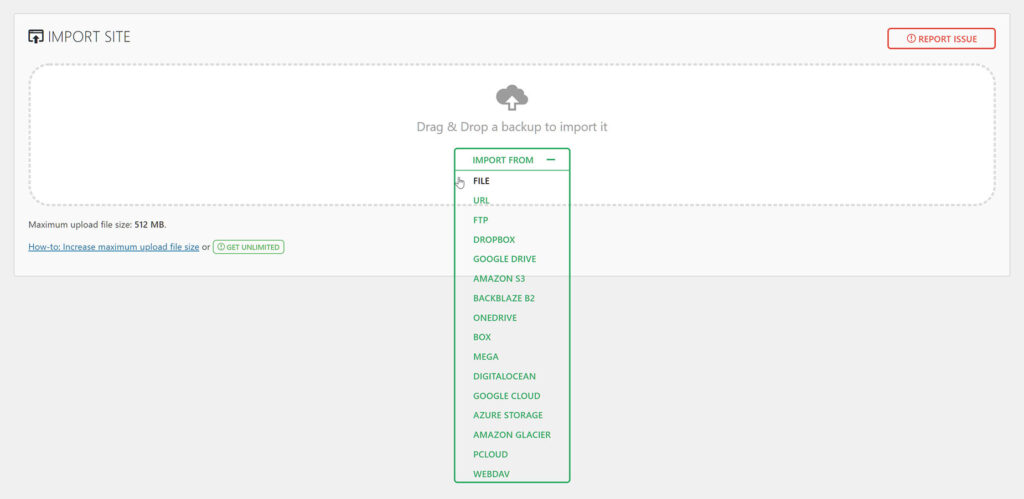
When you’re ready to upload, just click the ‘Import From’ button and find the file you downloaded earlier.
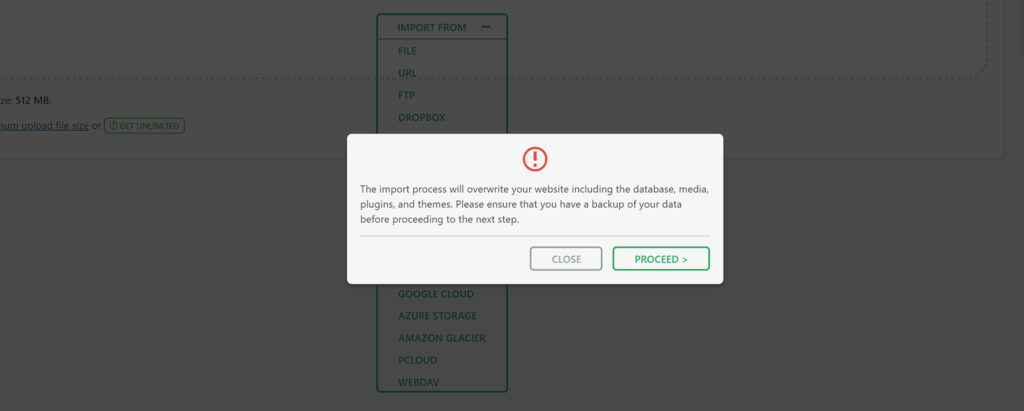
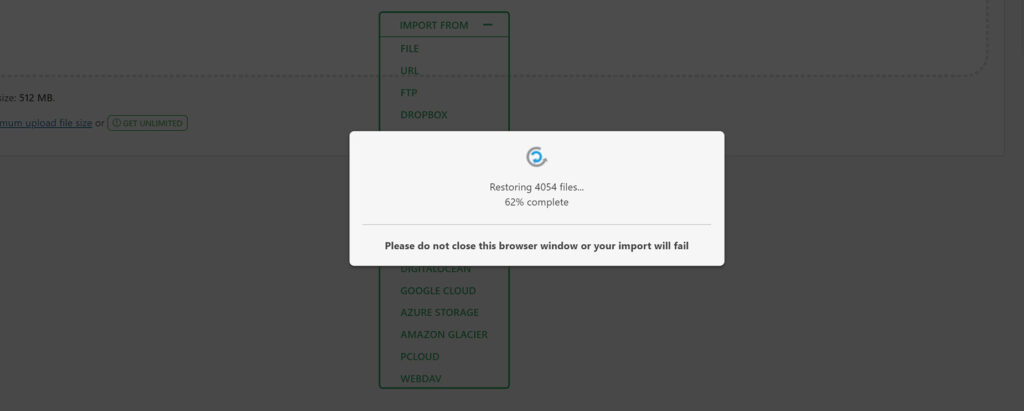
After you select your file, the plugin starts preparing to upload it. You’ll notice a lot of activity as it checks compatibility and prepares for the upload. Afterward, you’ll see a screen informing you that continuing will overwrite files and databases. Click “Proceed” to import your site or “Close” to stop here. If you proceed, the import process will begin. This could take some time depending on your website’s size and your hosting speed.