Elementor Control Carousel With Custom Arrows & Position
First, copy paste this Elementor Carousel Control with Arrows code on your page
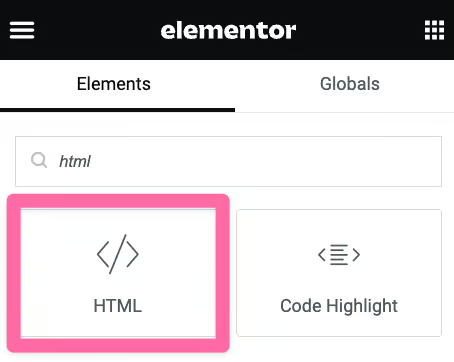
Place the HTML element on the page where you want the arrows to control the carousel or slider.

Paste the following code into it:
					<script>

/* Code from https://element.how/elementor-control-carousel-custom-arrows/ */
window.addEventListener('load', function () {
	document.querySelectorAll('[class*="arrowControlForward_"]').forEach(function (forwardArrow) {
		const group = forwardArrow.className.match(/arrowControlForward_(\d+)/)[1];

		const swiperElements = document.querySelectorAll(`.controlledByArrows_${group} .swiper, .controlledByArrows_${group} .swiper-container`);
		forwardArrow.addEventListener('click', function (e) {
			e.preventDefault();
			swiperElements.forEach(elem => elem.swiper.slideNext());
		});
	});

	document.querySelectorAll('[class*="arrowControlPrevious_"]').forEach(function (previousArrow) {
		const group = previousArrow.className.match(/arrowControlPrevious_(\d+)/)[1];

		const swiperElements = document.querySelectorAll(`.controlledByArrows_${group} .swiper, .controlledByArrows_${group} .swiper-container`);
		previousArrow.addEventListener('click', function (e) {
			e.preventDefault();
			swiperElements.forEach(elem => elem.swiper.slidePrev());
		});
	});
});

</script>


Make sure to assign the correct class names to your elements:
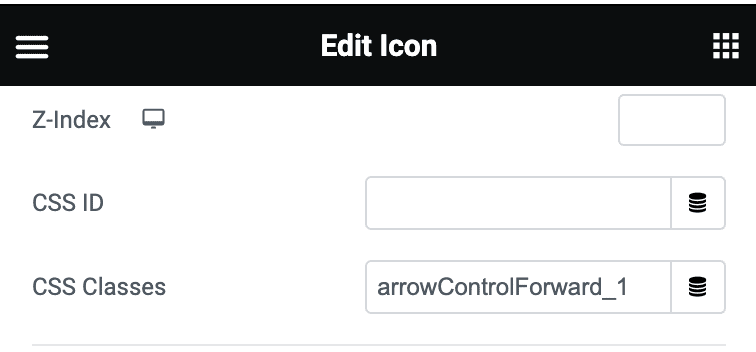
The element that advances the slider when clicked should have the class name arrowControlForward_1.
The element that moves the slider backward when clicked should have the class name arrowControlPrevious_1.
The swiper element that these arrows control should have the class name controlledByArrows_1.
You can use as many of these elements as needed. For example, you might have three arrows with the class name arrowControlForward_1. If you need a different design for mobile, just use the same class name, and it will work as intended.
Other Elementor carousels on the page, controlled by another set of arrows
If you have another carousel further down the page that you want to be controlled by different arrows, simply use the class names arrowControlForward_2, arrowControlPrevious_2, and controlledByArrows_2, and so on.
Accessibility
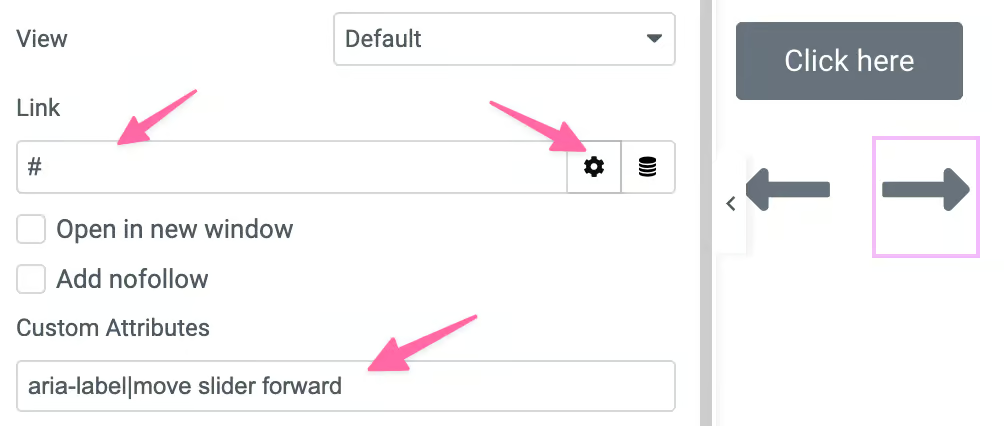
To ensure some level of accessibility, use elements that allow you to enter a link.
In the link field, enter “#,” and click the gear icon to access additional link settings.
Under Custom Attributes, add an appropriate aria label for accessibility.


