How to Restrict WordPress Site Access by IP or Logged In Users
If the video doesn’t meet your needs or you require more detailed instructions, keep reading.
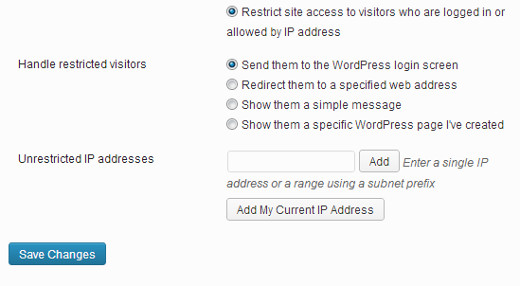
First, install and activate the Restricted Site Access plugin. Once the plugin is activated, go to Settings » Reading. Scroll to the bottom of the page to find the options for configuring restricted access.

Using the Restricted Site Access plugin, you can limit access to your WordPress site to only logged-in users or specific IP addresses. You can choose to redirect users without access to the login page, another web address, a custom message, or a specific page (like a coming soon page) on your site. The restrict-by-IP feature is especially useful for allowing multiple employees in an office to access a development project without requiring them to register as users.
This plugin is invaluable for beta testing your site before a product launch and for creating private blogs for friends and family. We hope this article helps you manage your projects discreetly. Have you used other methods to restrict access to your WordPress site? Share your experiences in the comments below.

